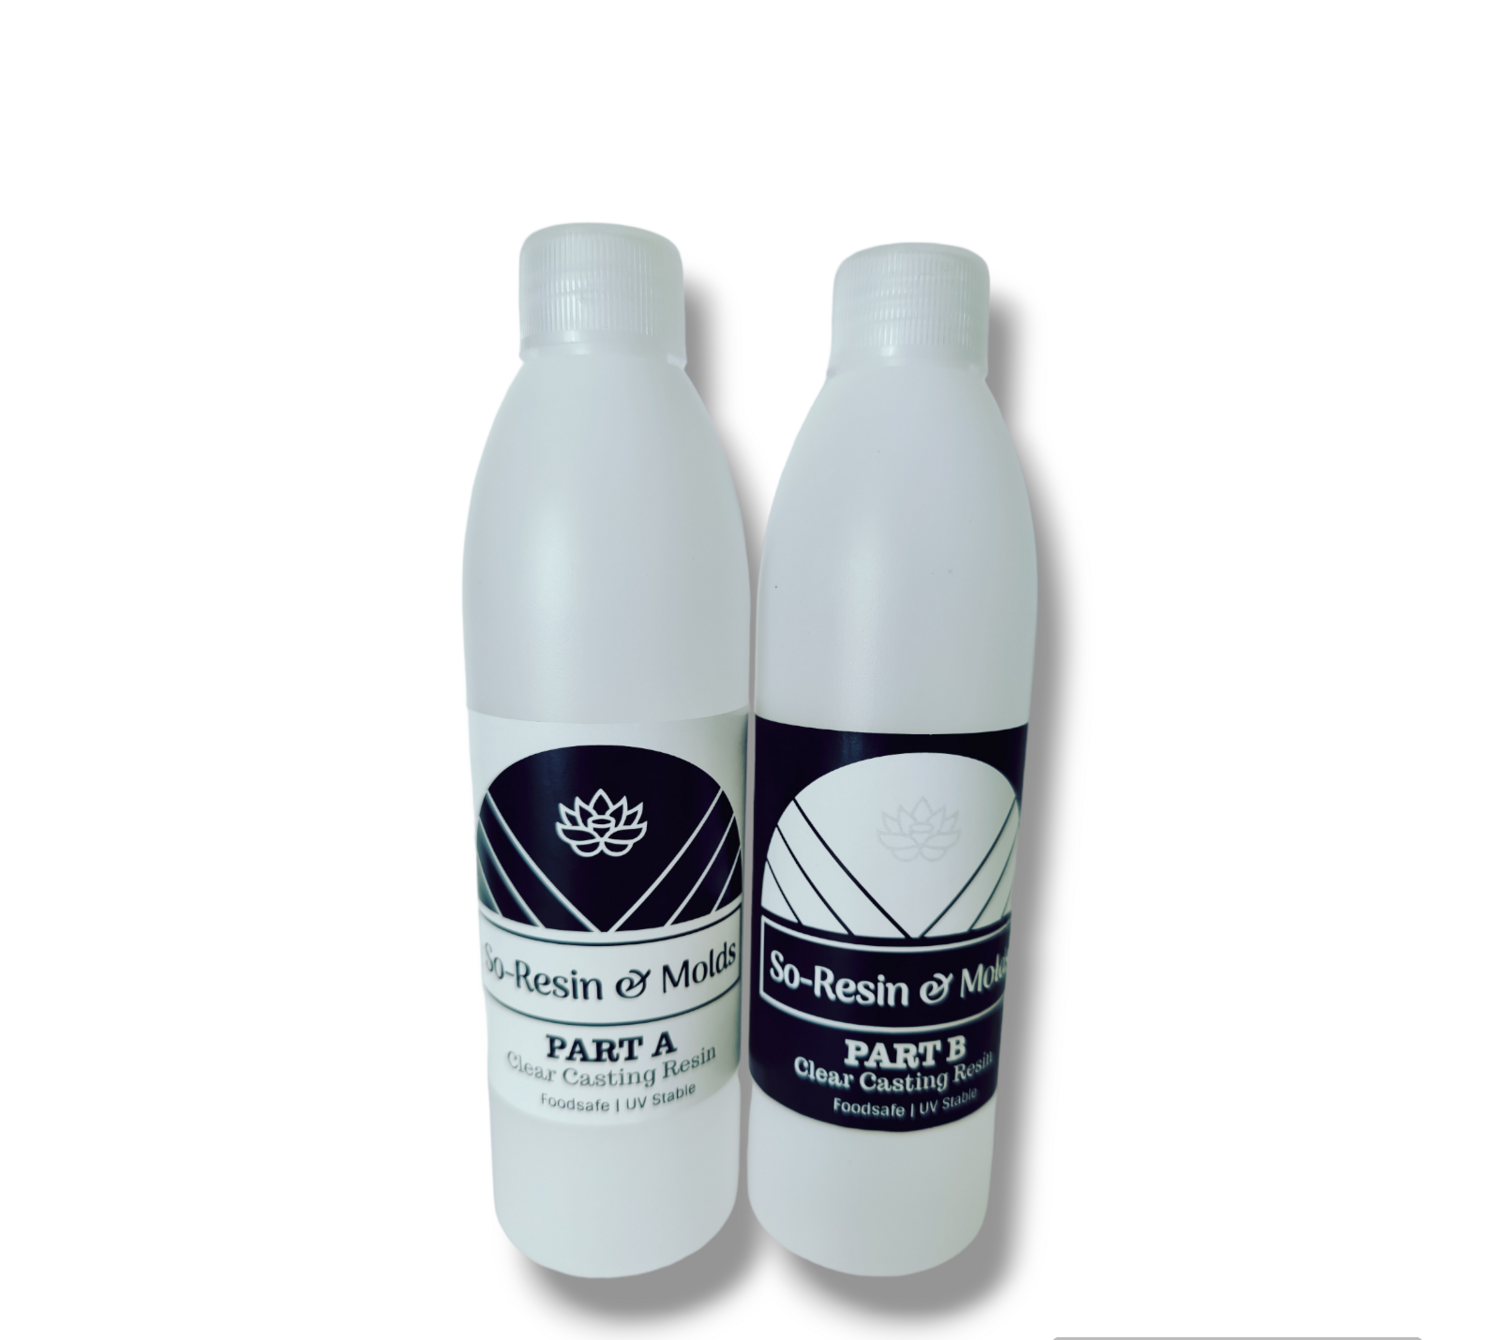
Clear Casting Epoxy Resin (1.6kg)
5.0
11 reviews
Reviews from verified customers who have purchased products at this store.
R499.00
Epoxy Resin/Casting Resin
In stock
Customer reviews
Reviews only from verified customers
Reviews are only accepted from verified customers who have signed in and purchased the products. This ensures that each review is based on genuine customer experiences. All reviews are checked before publication to prevent spam.
Michelle S.
Cape Town,
South Africa
Jan 8, 2026
This is one of the best epoxies I have ever used. No odour, very clear and degasses quite easily. I would definitely recommend this to anyone. Two thumbs up👍🏻👍🏻😁
Save this product for later
Product Details
Epoxy Clear Casting Resin is a 2-part product consisting of (1kg) A=Resin and (600g) B=Hardener.
Max casting up to 10mm
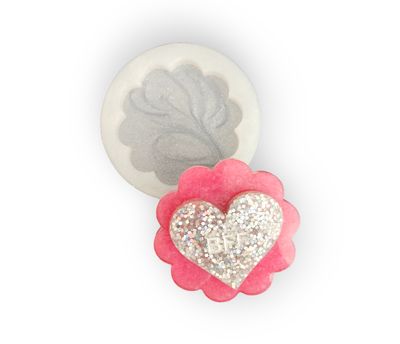
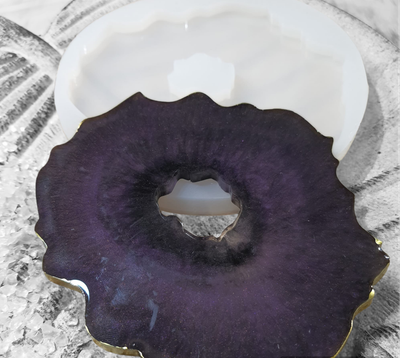
It can be used for Resin Art, Clear Coating existing art, jewellery, tables, concrete and making small resin castings using silicone moulds.
Suitable for river table casting or floor coating as well.
How to use
The mixing ratio (PART A) 100: (PART B) 60 by weight
45 minutes working time, you
would need a digital scale.
24hr cure
Max casting of 10mm thickness.
Resin can be tinted with a variety of pigments including inks, powders and even acrylic paint. Note that some acrylics affect the working time of the resin.
Do not work with resin if you are pregnant due to the harmful effect of Resin.
Note: Most epoxies are classified as a hazardous material and highly toxic, it is recommended to wear a respirator when working with epoxies.
Do not work in conditions below 18degrees ( heating up your area is recommended)
Tips & Tricks
To minimize bubbles in resin:
1. **Mix Slowly:** Stir the resin slowly to avoid introducing air. Stir for at least 2 minutes, scraping the sides and bottom.
2. **Use a Torch or Heat Gun:** Pass a torch or heat gun over the surface to burst bubbles. Do this shortly after pouring, but be cautious not to scorch the resin.
3. **Warm Resin and Molds:** Warm the resin and molds before pouring to reduce viscosity and help bubbles rise and pop more easily.
4. **Pour in Thin Layers:** Pour resin in thin layers to allow trapped air to escape more effectively.
5. **De-gas if Possible:** If using a vacuum chamber, degas the resin before pouring to remove air bubbles.
6. **Avoid Overmixing:** Overmixing can introduce more air. Mix only as much as needed.
Remember to follow the specific instructions for the resin you're using.
Clear Casting Epoxy Resin (1.6kg)
You May Also Like
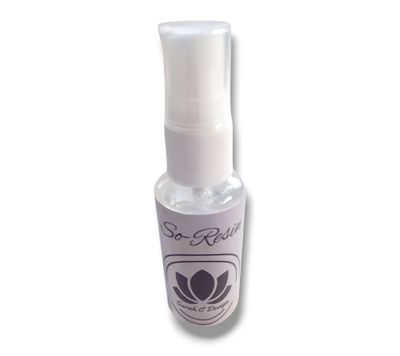
General Purpose Mold Resin Release Agent 50ml
General Purpose Mold Resin Release Agent 50ml
Mold Release Spray
R55.00
Display prices in:ZAR
